Creating Artifacts
The first part of Tribefire development is the creation of an artifact group and its constituent artifacts - versionable, Maven-compatible sets of files.
All necessary development components must installed - see Installing Development Components for detailed instructions.
Step-by-step guide
-
Create a folder called
tribefire.extension.tutorial:
-
Step into this newly created folder and call
jinni create-group --groupId tribefire.extension.tutorialThe group got created with a predefined set of files: the parent artifact, a group build.xml, a predefined set of .gitignore values as well as a README.md -
Before we move on, add the following properties to your parent pom.xml properties section:
<properties> <V.com.braintribe.gm>[1.0, 1.1)</V.com.braintribe.gm> <V.tribefire.cortex>[2.0, 2.1)</V.tribefire.cortex> <V.tribefire.cortex.assets>[2.0, 2.1)</V.tribefire.cortex.assets> <V.tribefire.cortex.services>[2.0,2.1)</V.tribefire.cortex.services> </properties> -
Now, we will create empty model artifacts. Please run all commands within the group folder. Use the Jinni command
jinni create-model <aid>(do not confuse with module!). Create the following models (example - for tutorial-api-model, you need to runjinni create-model tutorial-api-model):- tutorial-api-model - defines the service requests
- tutorial-deployment-model - defines the denotation types of our components like the web terminal and the service processor.
- tutorial-model - defines required data types
-
Next, we will create a processing artifact holding the actual logic (service processor and servlet implementation) required by our app to work. Run
jinni create-library tutorial-processing -
Now we will create our initializer artifact. Run
jinni create-initializer tutorial-initializer -
Now we will create our module artifact (do not confuse with model!). Run
jinni create-module tutorial-modulefrom your group folder to do it. -
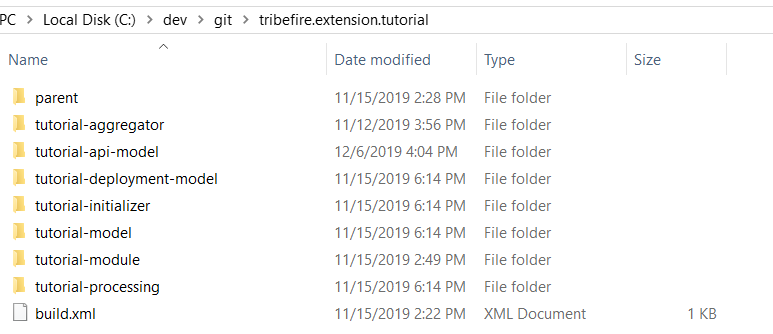
Finally, create the aggregator artifact. Run
jinni create-aggregator tutorial-aggregatorfrom your group folder to do it.When you're done, your group should look as follows:
-
Open a command line tool and run
ant -Drange=parentfrom your group folder to build the parent artifact. This creates the parent artifact in your local.m2repository. -
Run
ant -Drange=.from your group folder to build other artifacts. They are now available in your local.m2repository. Note how the group is organized in the local repository: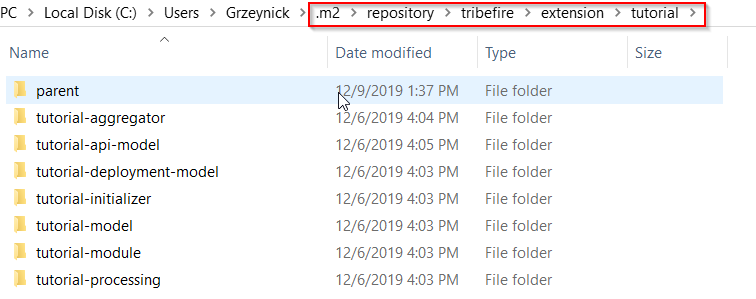
Summary
Having created the group and artifacts, we can move on to coding! Go to Developing Artifacts to proceed.